Showing posts with label Around the House. Show all posts

Tuesday

The CSI Project: Molding Challenge Week

Guess what??
I am so excited this week to be a guest judge on the CSI Project's Molding Challenge. If you haven't been by the CSI Project yet, head over there ASAP. So much creativity and inspiration in one place, prepare to be dazzled!

I absolutely love their guest tutorials. One of my personal favorites this week is making rustic wood shadowboxes. It's so easy to do with this fabulous tutorial from the Laney Sisters on Truly Lovely.

Join in for the Linky Party later in the week to post your projects related to frames and molding. I'll be posting the winner and my Top Ten picks this weekend--can't wait!

Tell Your Story: Sports Shadowbox

 This week one of my new customers friends sent in an inspiring idea of what she had done with her ShadowCases.  I loved it so much, I asked her if I could share it with all of you ladies.
First of all, she is so gung-ho on this that she did the whole thing in like a day!  Second of all, she actually took the time to send in photos of her project. You go girl!  I could definitely learn a lesson or two from you about finishing ShadowCase projects. ;-)  Here's what she had to say:

"My son LOVES sports! He loves to play every sport, watches sports, learns about sports and is basically a sports nut. My youngest sister's boyfriend was the high school quarterback for his team. My son loved to watch their games. For Christmas this year (since he is done), he wanted to pass on the football legacy to him. He gave him his jersey (which he had signed), his stickers from his helmet, a very nice note and some of the stickers he had earned throughout his high school experience. We wanted to have a way to keep them safe, but also showcase such a special gift. We couldn't believe he would give such a treasured gift to my son (he is only 10 right now).

So, the other shadowbox is full of my son's special things from this summer when he made the All-star minor league baseball team. He was selected to be on the team and he loved every minute of it. So, these are both on my son's wall. He couldn't be more pleased with how they turned out and for being able to showcase his love of sports. Thanks for creating the perfect thing to help us keep such special things stored in the perfect way. They went together so easily! I would highly recommend them! They are perfect! Everything about them. I loved how the frames attached to the front. I loved how the board was two sided. I loved the fun pins that hooked everything so perfectly together. I loved all of the matching accessories. I can't wait to work on my next project! Thanks!


Don't you just love what she did with the vinyl lettering under the 2 ShadowCases?  Now my 12-year-old son is asking why I haven't put his football stuff up in his room yet!  Okay, okay, it's definitely on the list of New Year's resolutions for me now!

Thursday

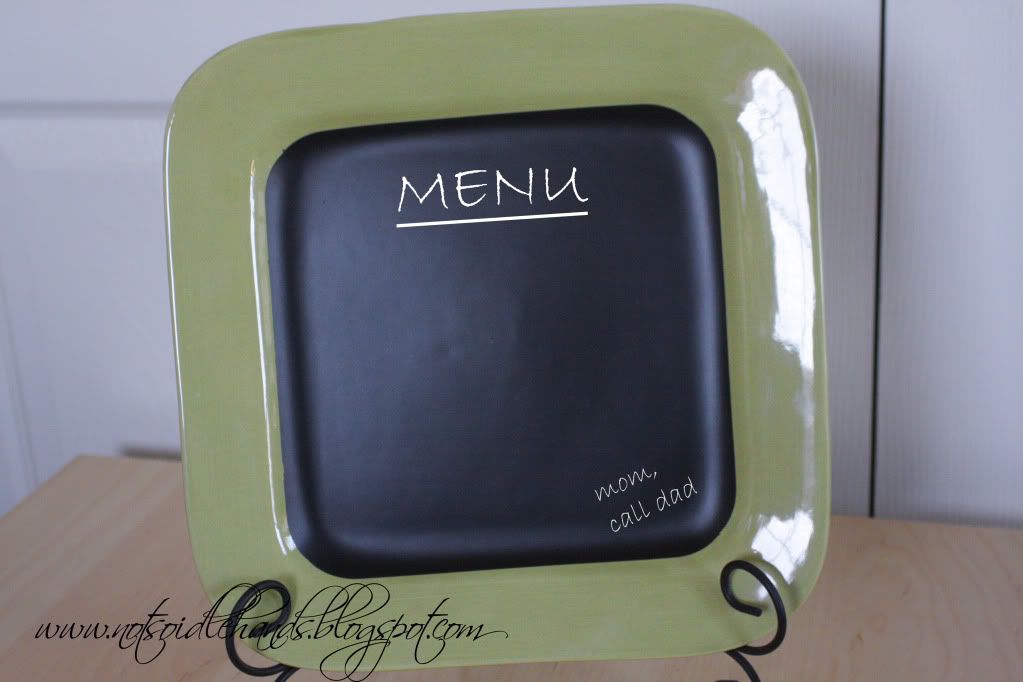
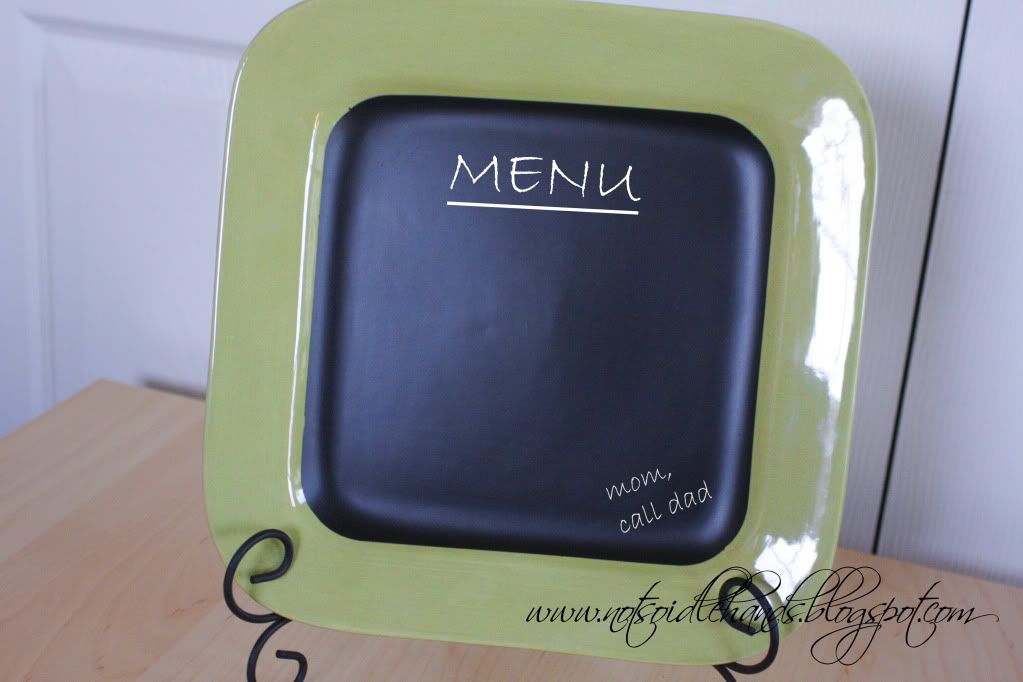
Friendly Feature: Super Easy Chalkboard Plate

Today I am featuring Emily from Not So Idle Hands and her oh-so-very-creative blog.  It was hard to choose a favorite project, so here is one of the highlights for me, that I am just dying to make. Don't tell anyone in my family, but I think this just solved my Christmas Gift dilemma for this year! 


Emily Says:
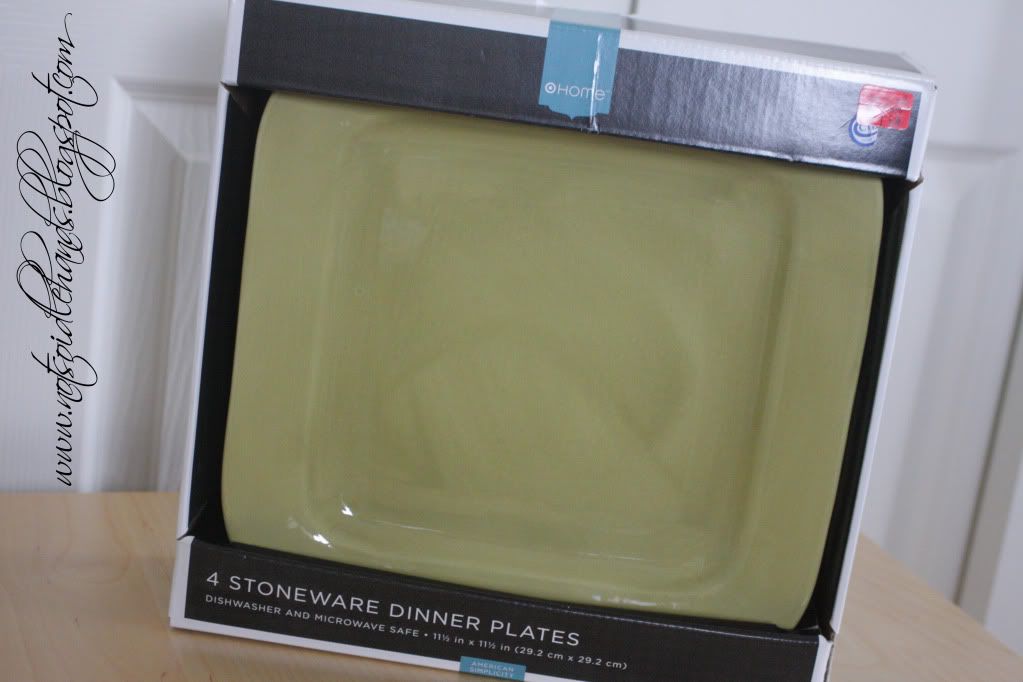
I got these beautiful plates on clearance from Target some time ago and knew they would be perfect! I like the way they have a wide edge around them.

You will also need:
  • Chalkboard paint
  • Primer
  • Blue tape (painters tape)


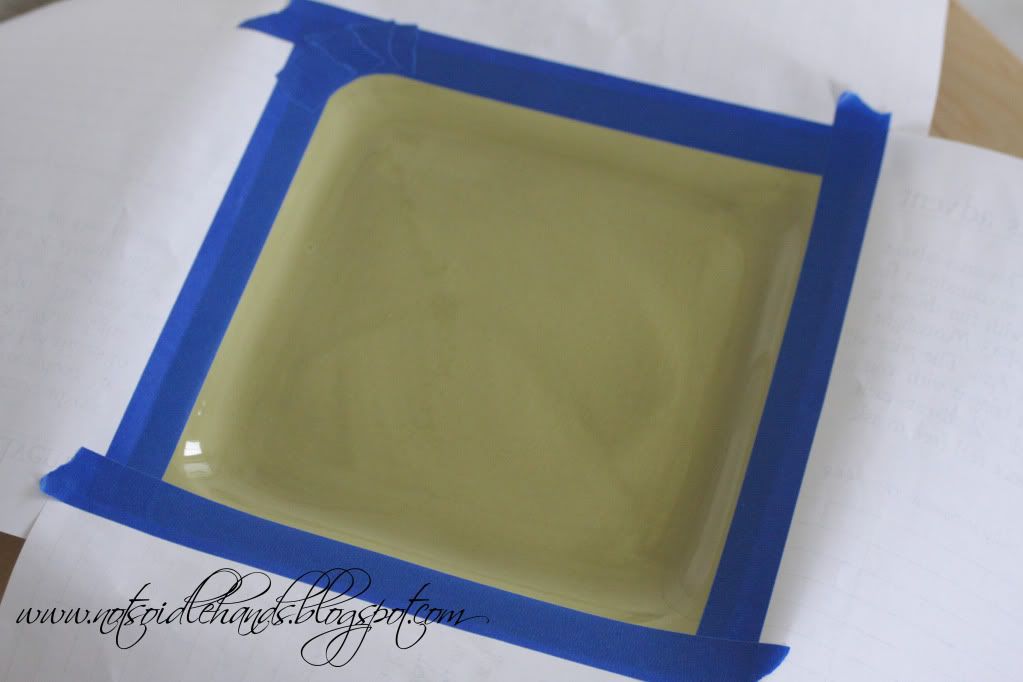
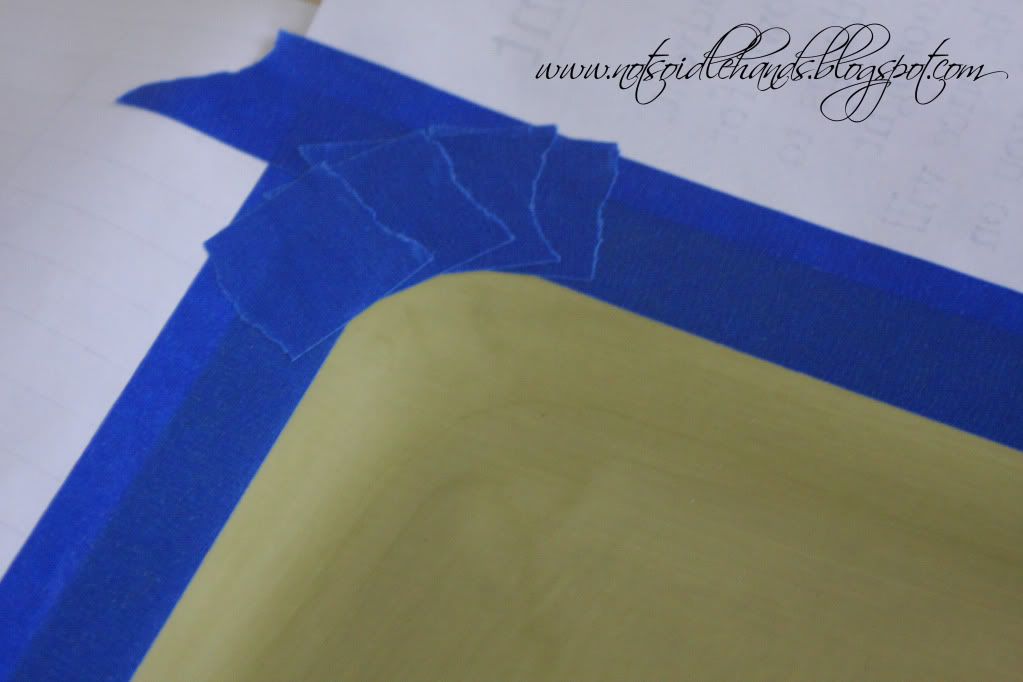
Start by taping off where you want the chalkboard area to be.....making sure to cover the rest of the plate to keep it splatter-free. See how I used the tape to make curved corners....it's easy :)

Spray a layer of primer first. This will help the paint to stick to the slick surface of the plate. Then, spray 2-4 thin layers (thin layers will keep it from getting drips) of the chalkboard paint till you are happy with the thickness. 

After you are happy, take the tape off (before it dries), just in case your painters tape pulls off the paint once it's dry.


Yay! 
Now you have something to use for your daily menu, instructions to hubby & kiddos, shopping list, etc.......


Thanks again, Emily, for sharing your project with us.  Don't forget to hop over to Not So Idle Hands to see her other creative projects!

Candle Makeover


I have had these candles in my family room for several years, and they are showing all the wear and tear from stray footballs knocking them down, dogs trying to eat them, and rambunctious children teetering them over. So I thought they would enjoy an hour in my craft room, getting a new makeover.  

It's so simple, I'll probably do this with every candle in my home!!

Pick your favorite scrapbook paper that you want to decorate with.  I chose a ColorBok paper pack from Walmart for $5.
Cut the paper to the width you prefer, and ink the edges to give it a more finished look.

Glue the paper to the candle with a hot glue gun.

Add any embellishment tag you would like--this one came with the ColorBok Paper Pack. I inked it and threaded a piece of ribbon through the back.

Voila!! In only a few minutes, you have given new life to not only the candles, but to the entire room!

Wednesday

Friendly Features: Emily at JanDee Crafts

I love the blogging world because of all the creativity floating around--I look forward to waking up every day, just to see what new and exciting things are being thought up by fantastically inspiring women. (Yes, I know.  Sad, but true!)

So in the spirit of support and love for all of you out there in Blogland, I'm going to be featuring a different creative lady every week.  Let me introduce you to one of my new favorite blogging friends--if you haven't met her yet, jump on over and pay her a visit.  Emily from JanDee Crafts has so much personality, and some really fun ideas on her blog. 


One of my favorites is this Blue Plate Special which works great as an easy gift--Christmas is going to be a breeze this year with all the ideas she's got for gifts!  Emily has a really cute poem to go along with it, too. Find it HERE.  

 I'd love to feature more of you wonderful women and your projects, just drop me an email at janna@shadowcase.com and let me know!  Have a fabulous day!

Dressing-up Dry Erase Markers

Hello my friends!  Some of you may know that I am a person obsessed with list-making.  The more hectic my life, the more lists you will find spread all over the house.  Which is why I LOVE, love, LOVE dry-erase boards.  They are one of many ways to make a task list look creative and fun, thus motivating me to actually do the things numbered on the list.  However, I am fed up with the ugly markers that are always attached to the side of my adorable-crafty-dry-erase-board.  So here's my easy solution...
 Dress-Up that Oh-So-Very-Unstylish Marker
Materials Needed:
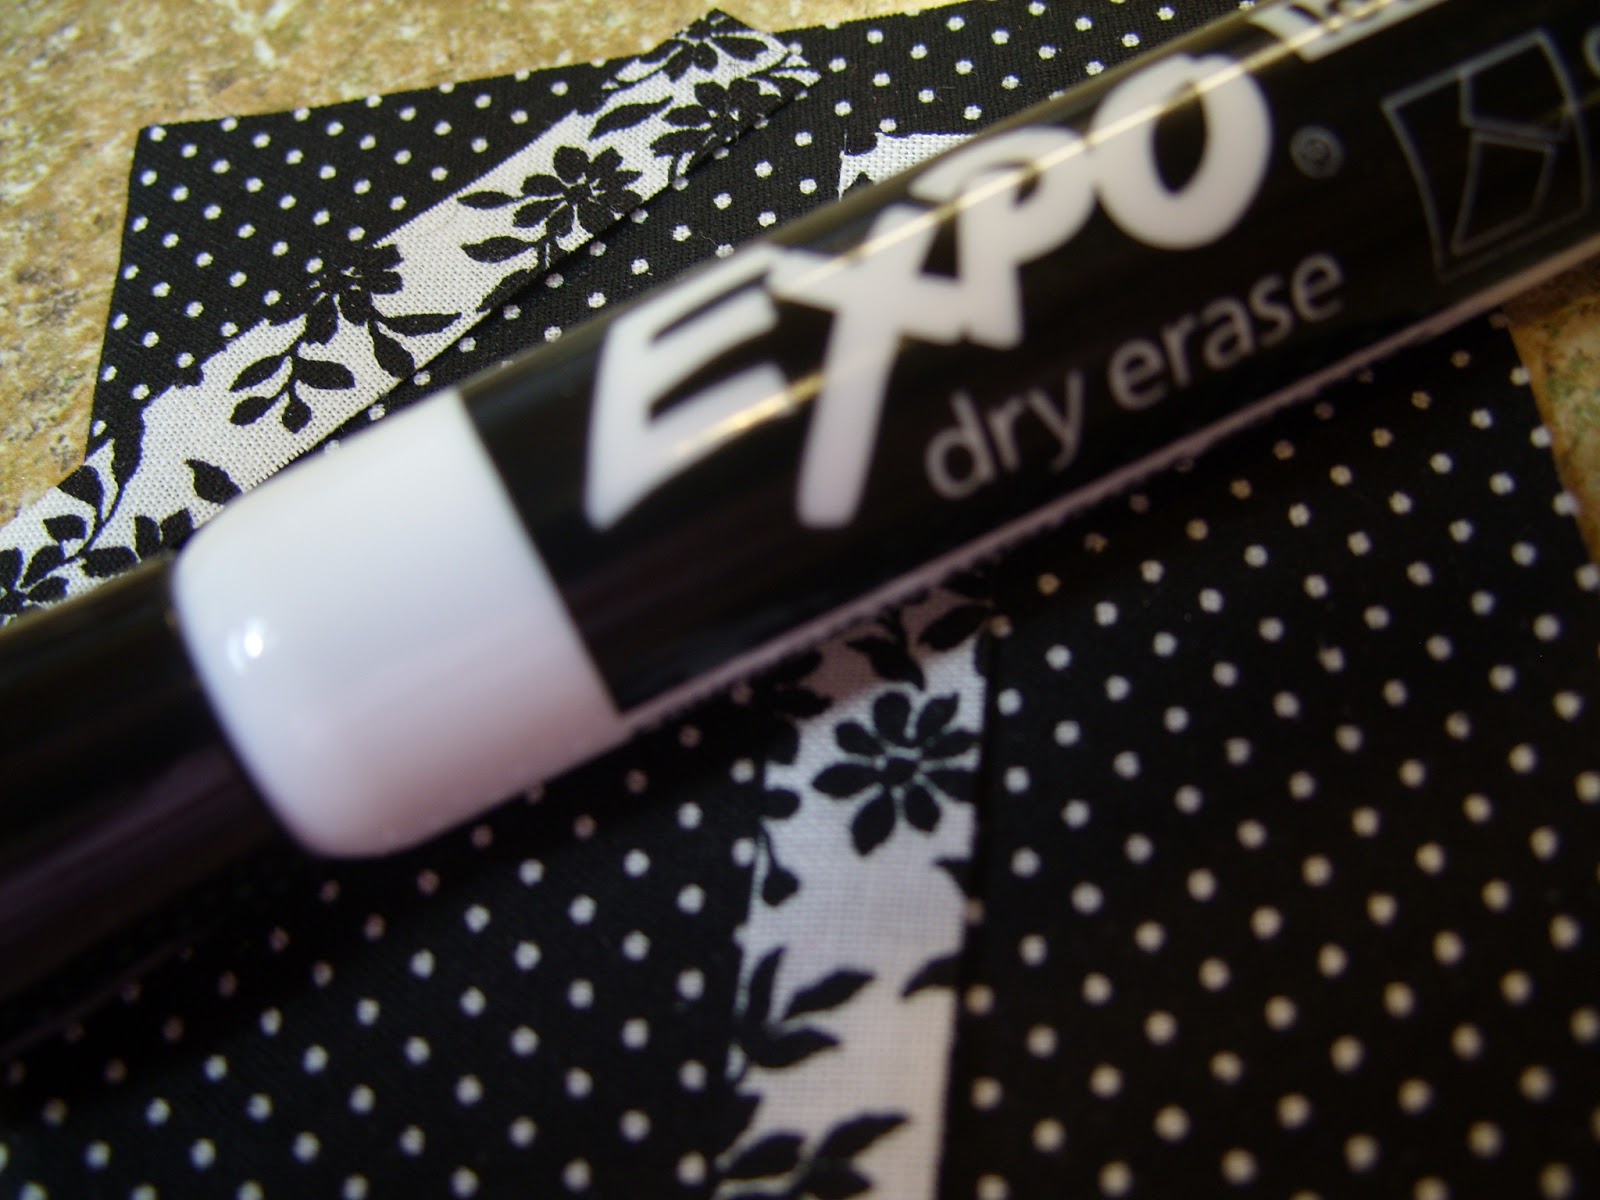
Dry Erase Markers
Fabric Scraps
Mod Podge
Glue Gun

Cut out a piece of fabric about 3" X 3" around your marker.

Spread some Mod Podge on the fabric and wrap around the marker.

Add another layer of Mod Podge over the top to secure the seam and keep it from fraying.

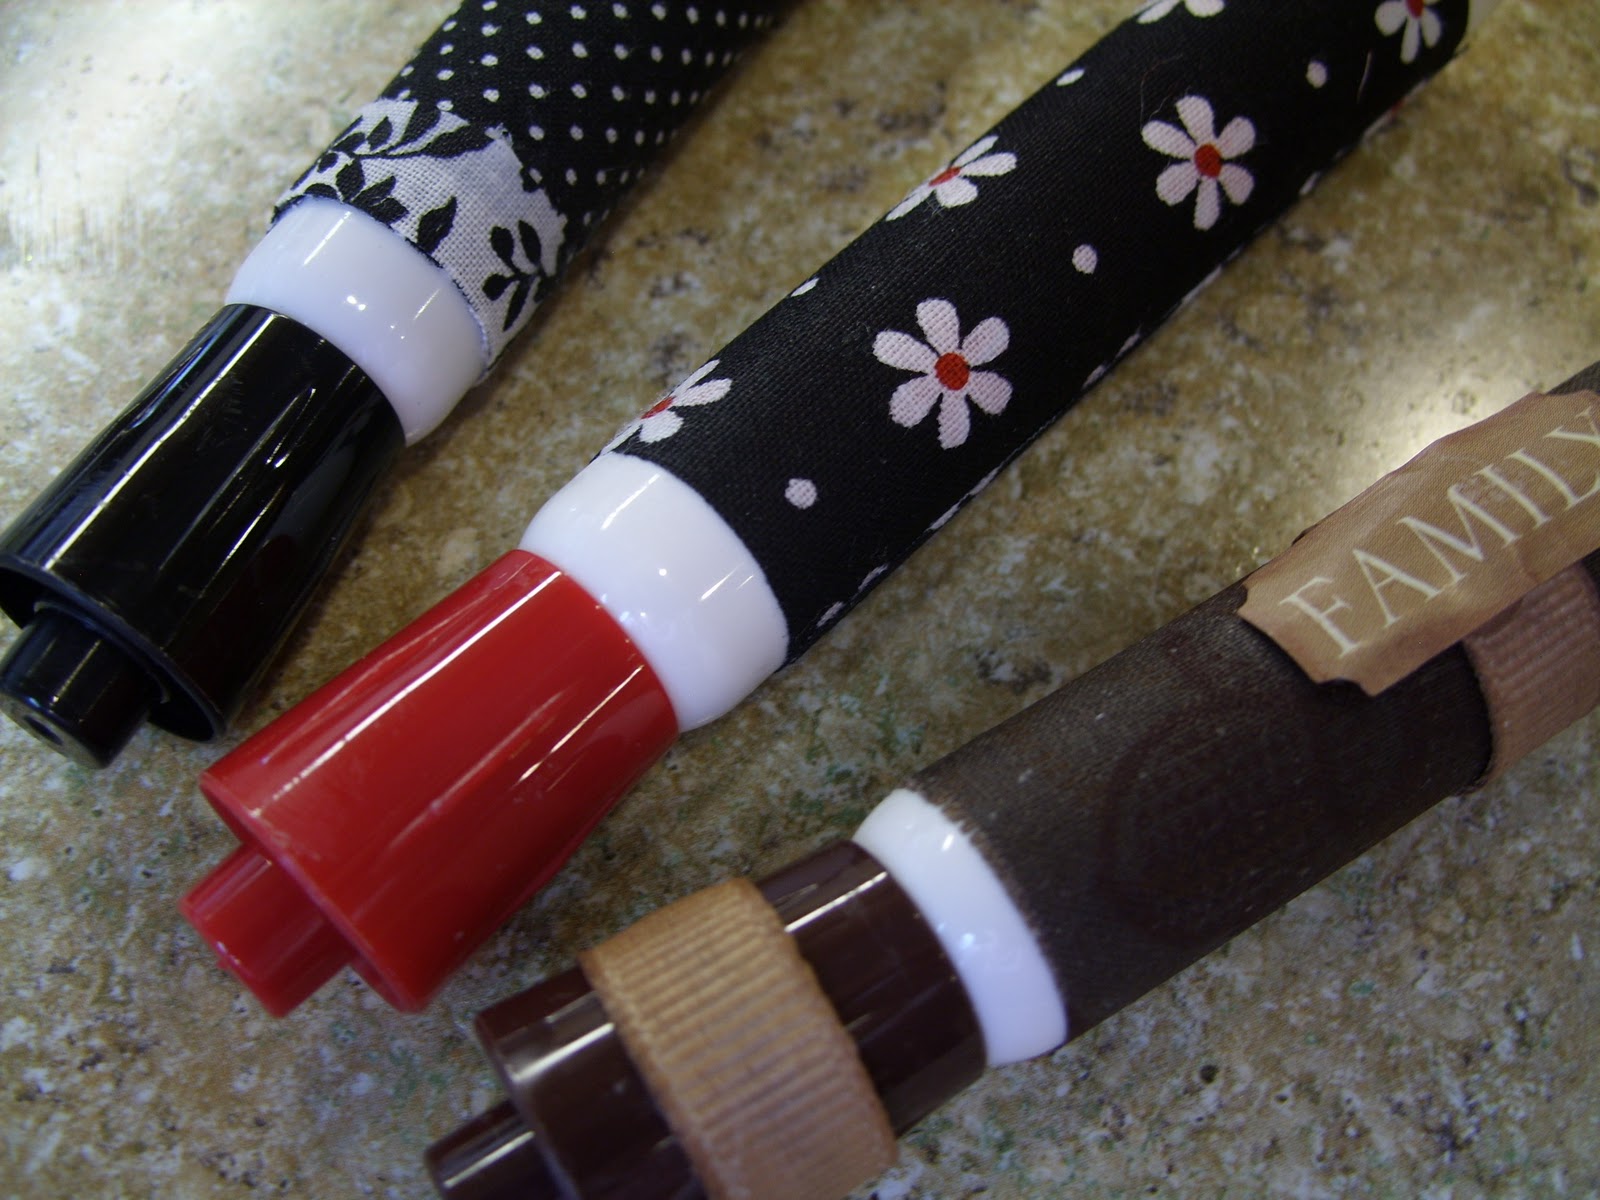
Add a little bit of ribbon...

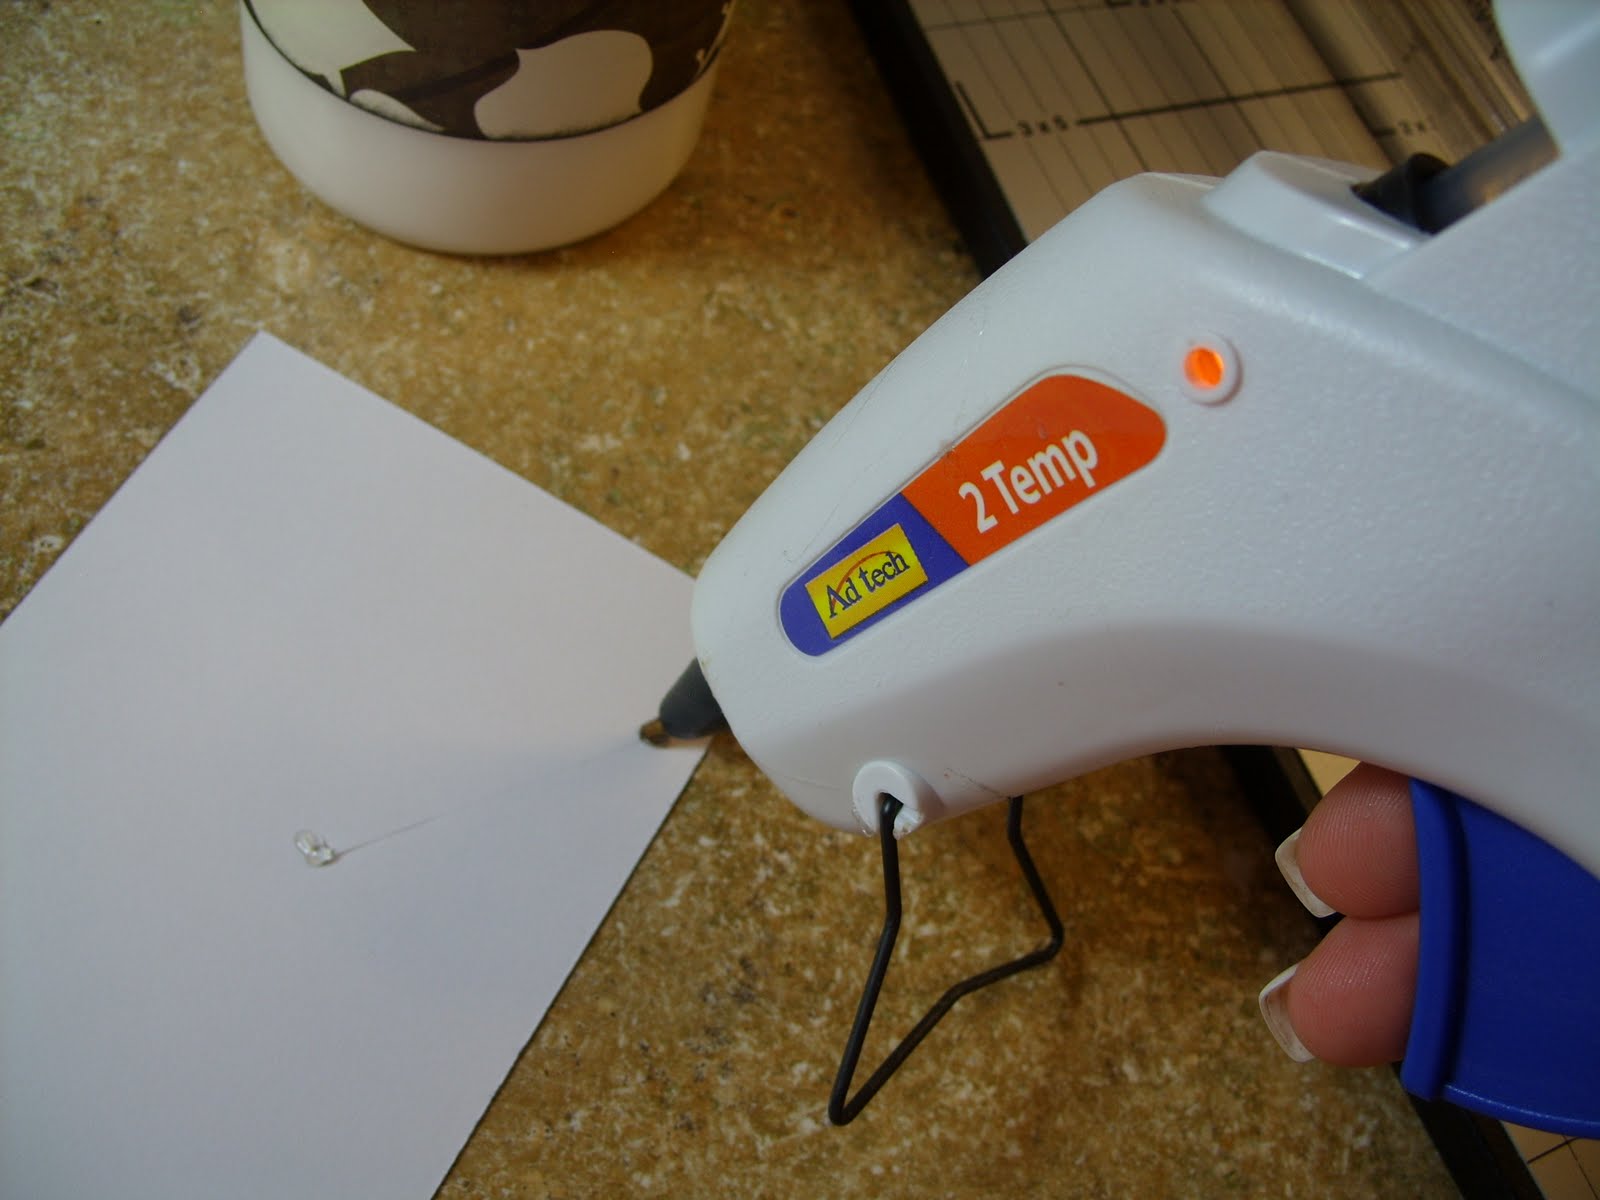
A glue gun works well for attaching any embellishments.

Go crazy and dress-up all the dry erase markers in your house!


I love the way these turned out, and it's a quick 5-minute project. I'm planning to also do some of these with my kids as teacher gifts this year--wouldn't that be cute??

Tuesday

Horsey-Lovin' Hair Accessory Organizer...

For several months now, I've been wanting to get my girls' hair accessories in order, but could never seem to find the time.  Now that school is starting in a few weeks, I figured it was time to get down to crafty-business!  We had so much fun making it together, and I feel like it represents their personalities and something they 
really. truly. LOVE--
 HORSES!!


 Hair Accessory Organizer
 
You will need:
1. Canvas board (I got mine at Walmart for about $5)
2. Cute Fabric (fabric is mandatory, cuteness level is relevant)
3. Coordinating Ribbons (3-5, depending on the width) 
4. Brads
5. Hot Glue Gun

 Lay your canvas board over the fabric and cut around, leaving about an inch for wrapping around the wood frame.


Wrap the fabric around and glue down to the wood.

Layout and cut your ribbons, again leaving a inch or so on the ends for wrapping around. 

I put a brad near the ends so that it created a little loop to thread headbands through.

Glue ribbons to back of frame, then trim off with scissors.  ('Course you can skip this step, because no one will see the back!)

Glue some ribbon to the back, tie a bow, and hang it up!


Now when we're in the mad rush getting ready for school, I don't have to waste time searching all over the house for something to put in my girls' hair. I love that they can see them and easily choose which one they want to wear that day. Every minute saved in the morning really counts in our hair-brained house!


Friday

Time for a Change in the Kitchen

A few years ago we remodeled our kitchen.  Everything looks gorgeous, except for this wall that I have pretty much hated now for years.  See what I mean?  
 Can you think of any worse way to check the time?


So I decided something MUST be done.  I found this great clock at Wal-mart for about $15, used a framed cork board (I don't remember where I got that thing.  I keep a lot of extra stuff around, can you tell?) and found a quote board that I had bought on clearance for $6 at Roberts awhile back.


In my basement storage I came across this great frame I had bought on clearance for $1. With a little ink, some scrapbook paper and a die-cut letter, it turned into a whimsical piece to add to my wall.


Isn't this much better?
 I love that I now have a spot to post important notes, menus, and kids' job lists. Even my 3-yr-old boy keeps saying, "Mom, I really like that new clock!"  Who knew toddlers even noticed stuff like that?  And all for about $20.  Not bad.

Have you ever done a wall-makeover? 


Wednesday

Motherhood: Taming the Laundry-Mess Monster


What does laundry have to do with being a mother? Everything! For those of you drowning in the abyss of last week's dirty clothes, here is a life raft for you!  No matter how small your laundry room, you can find a way to better organize it so that it runs like a fine-tuned machine.  We found great success with taming our laundry mess monster a few years ago, and it still works like a charm!


Step 1: Collect and label small bins--one for each family member (we used white plastic dishpans from Walmart at about $3 each). We also labeled one "linens", one "socks" and one "charity".  This way we can sort through those clothes that are too small and send them out the door instead of back into the drawer.

Step 2: Place bins on shelves in your laundry room--either attached to the wall or even a tall bookshelf will work.

Step 3: As you pull clothes out of the dryer, immediately fold them and place them in the proper bin.  Have a rod or behind-the-door hook for hanging the clothing that doesn't go into drawers.

Step 4: Assign family members the responsibility of emptying their own bin into their drawers and closets (Yes, even husbands and 2-yr-olds can do this!)

We have felt the satisfaction of seeing this method work for 5 years straight, and it has truly helped tame that Laundry-Mess Monster!

Monday

A Mother's Prayers

I remember my mother's prayers and they have always followed me. They have clung to me all my life.
Abraham Lincoln