Showing posts with label Kids Crafts. Show all posts

Saturday

Mom and Me Makeover Box

Hello readers! I have missed all of you over the last few weeks.  Between running a new business and a busy household, I felt like it was time to take a little break and rejuvenate my relationship with my family. Here is one of our favorite projects we "worked" on---a Mom and Me Makeover Box!


I purchased a box on clearance for $5 and added a few scrapbooking letters to the front.  Then my girls and I went to the Dollar Store and loaded up on all kinds of goodies--nail polish, nail art stickers, lip glosses, and make-up.  


We had a fabulous time doing our nails and dolling ourselves up one afternoon! 

Now we've got a special box ready at a moment's notice, so that when I've got 10 minutes in between running here and there, we can be sure to make some memories that will last forever.

Wouldn't these make a wonderful, inexpensive birthday or Christmas gift?

Thursday

Making Memories: Recipe for Play-dough Day!


 Lately it seems like life is flying by so fast! I feel like I need to slow down and enjoy those little moments everyday with my children.  So I decided to make our Thursdays a Play-doh Day! We clean off the kitchen counter, gather ingredients, make homemade play-doh, then spend the next hour or so getting creative with our hands.  You'd be surprised at the age range of children (and adults) that can't resist a huge glob of the stuff.  

This recipe is quick and easy, and so fun to do with kids or grandkids!

What you need:   
2 1/2 cups of flour
1/2 cup salt (any kind will work)
2 envelopes Kool-aid (your choice of color)
3 T. oil
2 cups boiling water (if it isn't hot enough, the dough gets too sticky to work with)


Mix dry ingredients together in mixing bowl.

Add boiling water and oil. 

Mix together until dough pulls away from sides and forms a ball.


Put onto the counter and knead by hand until smooth.  My little guy is checking to see if it's cooled off enough to play with!

Is that easy or what?  Now get out those ingredients and make some memories!

Candle Makeover


I have had these candles in my family room for several years, and they are showing all the wear and tear from stray footballs knocking them down, dogs trying to eat them, and rambunctious children teetering them over. So I thought they would enjoy an hour in my craft room, getting a new makeover.  

It's so simple, I'll probably do this with every candle in my home!!

Pick your favorite scrapbook paper that you want to decorate with.  I chose a ColorBok paper pack from Walmart for $5.
Cut the paper to the width you prefer, and ink the edges to give it a more finished look.

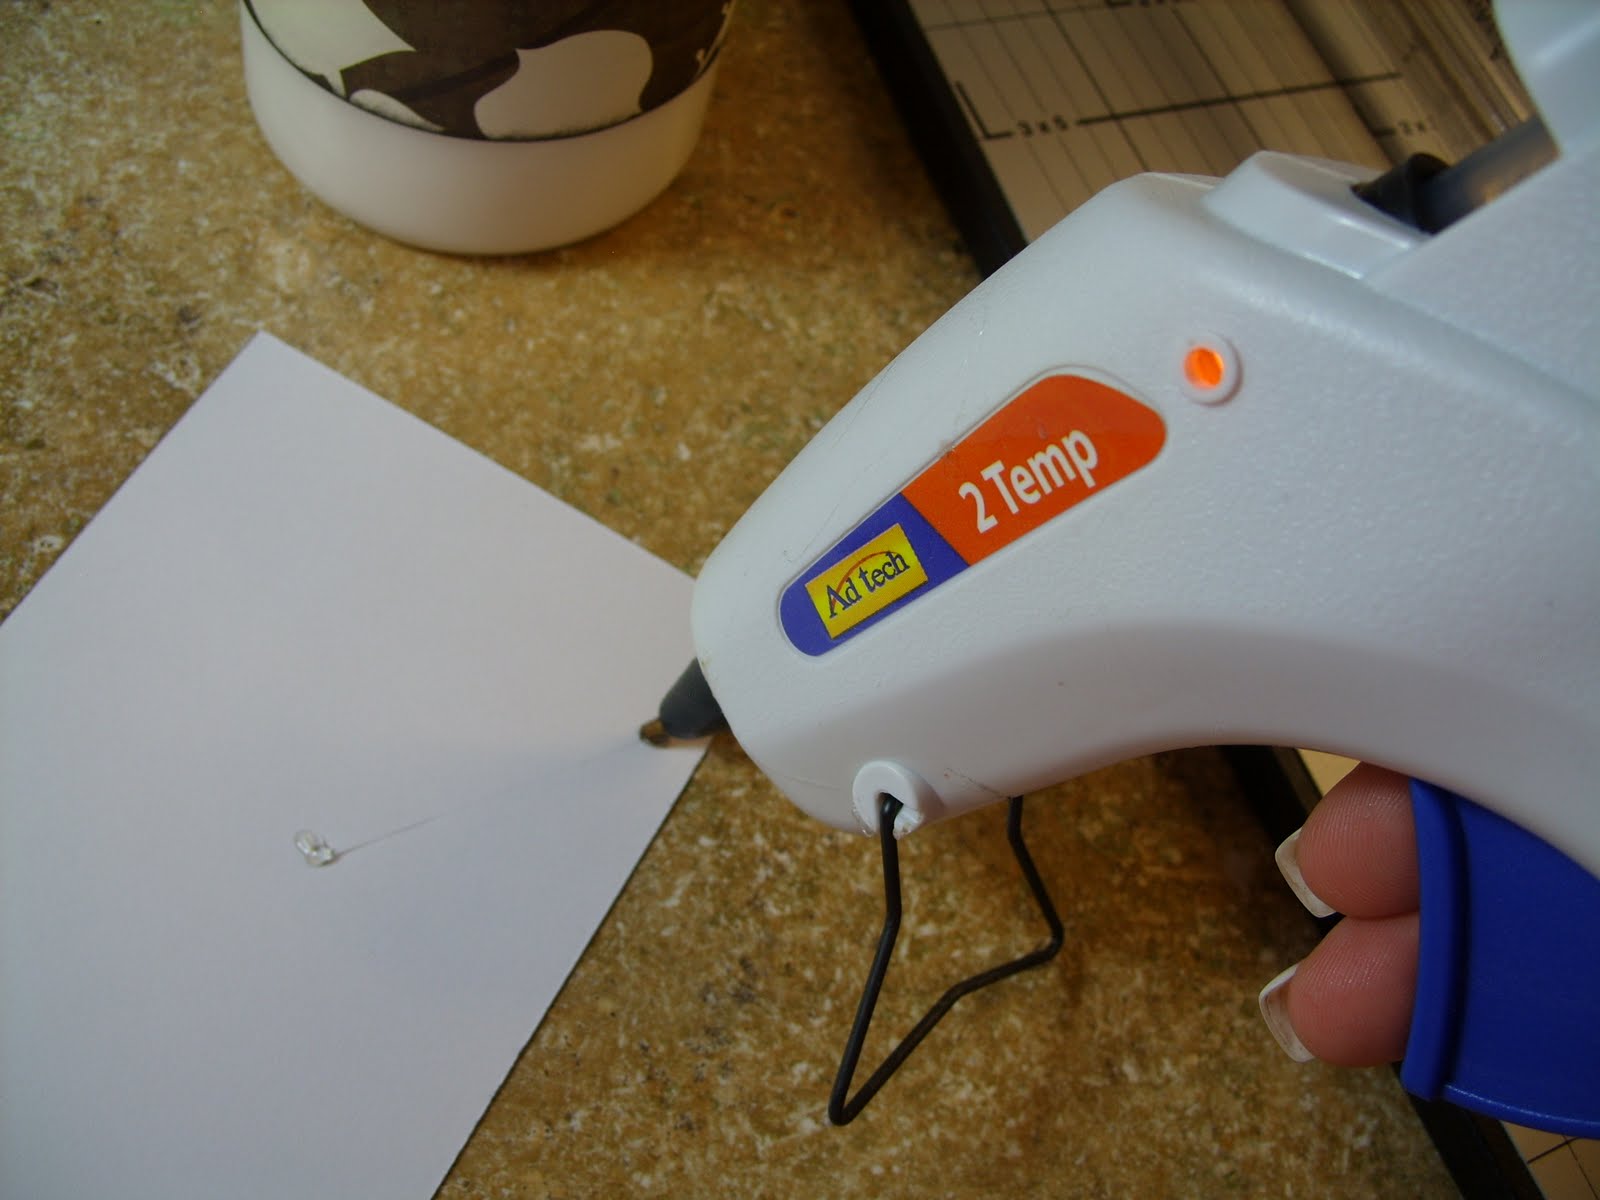
Glue the paper to the candle with a hot glue gun.

Add any embellishment tag you would like--this one came with the ColorBok Paper Pack. I inked it and threaded a piece of ribbon through the back.

Voila!! In only a few minutes, you have given new life to not only the candles, but to the entire room!

Wednesday

Dressing-up Dry Erase Markers

Hello my friends!  Some of you may know that I am a person obsessed with list-making.  The more hectic my life, the more lists you will find spread all over the house.  Which is why I LOVE, love, LOVE dry-erase boards.  They are one of many ways to make a task list look creative and fun, thus motivating me to actually do the things numbered on the list.  However, I am fed up with the ugly markers that are always attached to the side of my adorable-crafty-dry-erase-board.  So here's my easy solution...
 Dress-Up that Oh-So-Very-Unstylish Marker
Materials Needed:
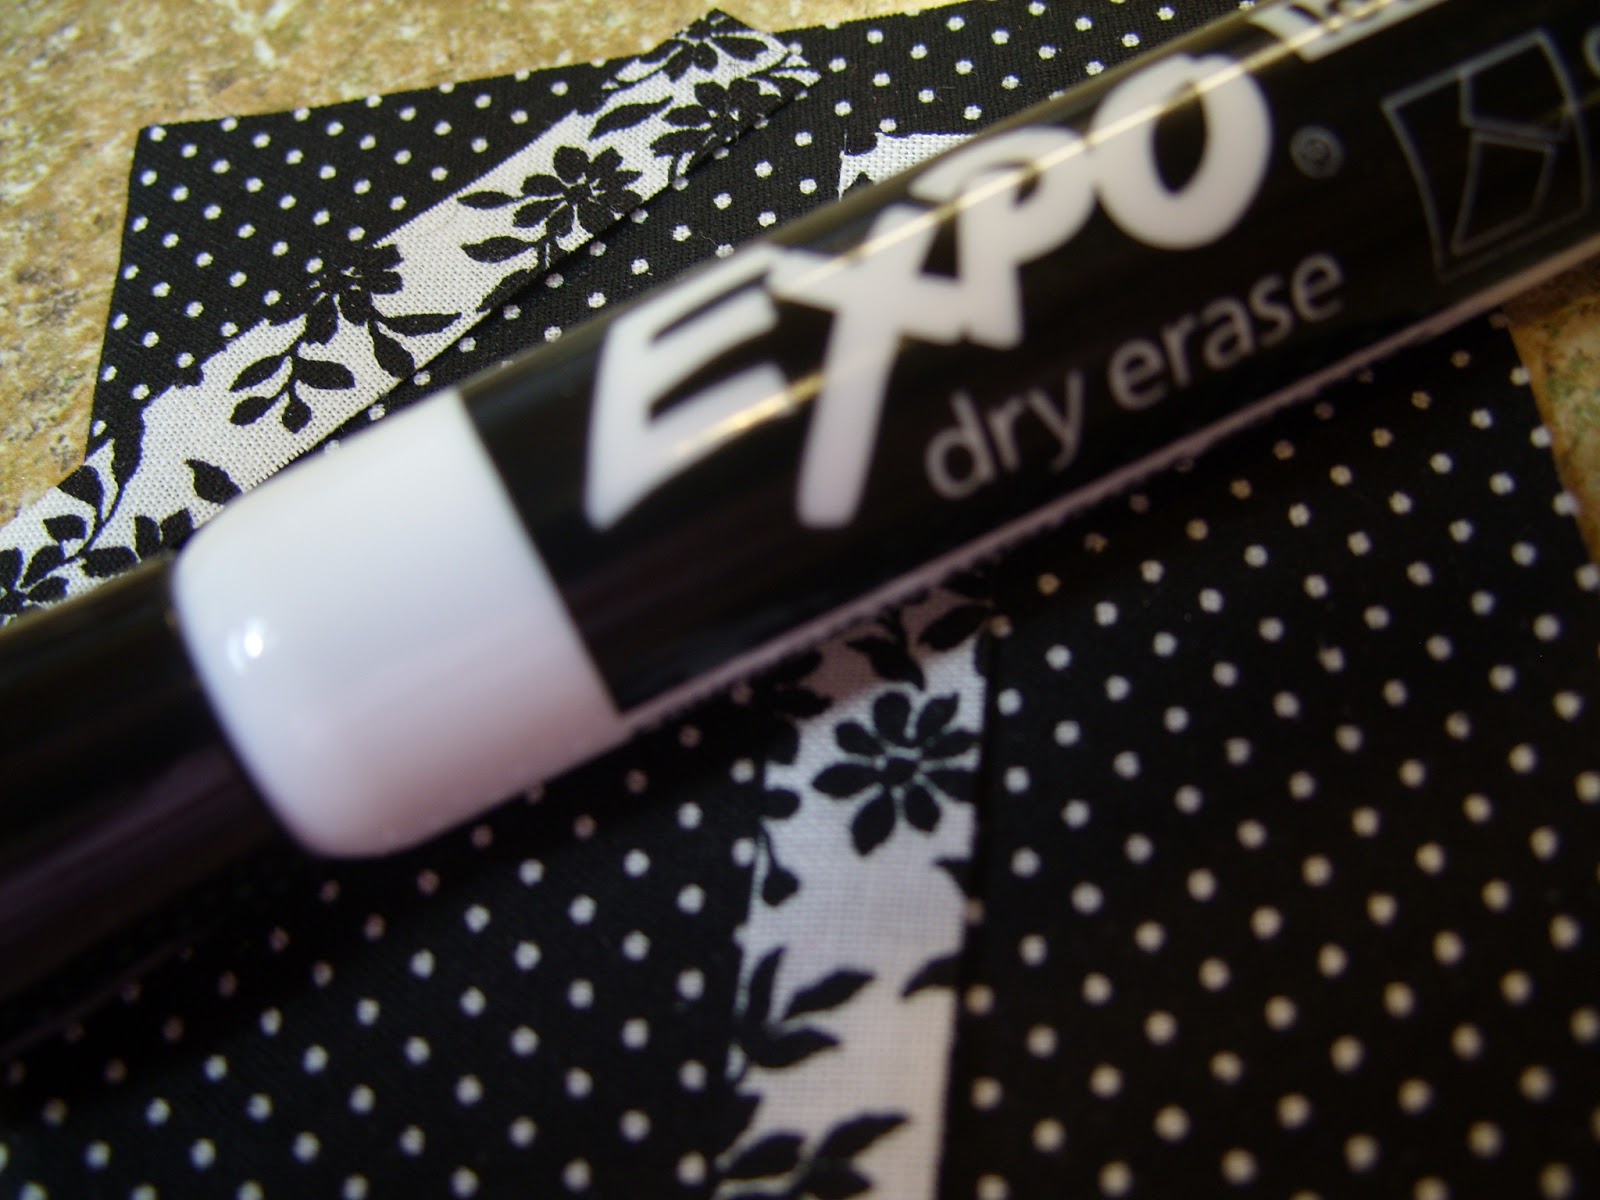
Dry Erase Markers
Fabric Scraps
Mod Podge
Glue Gun

Cut out a piece of fabric about 3" X 3" around your marker.

Spread some Mod Podge on the fabric and wrap around the marker.

Add another layer of Mod Podge over the top to secure the seam and keep it from fraying.

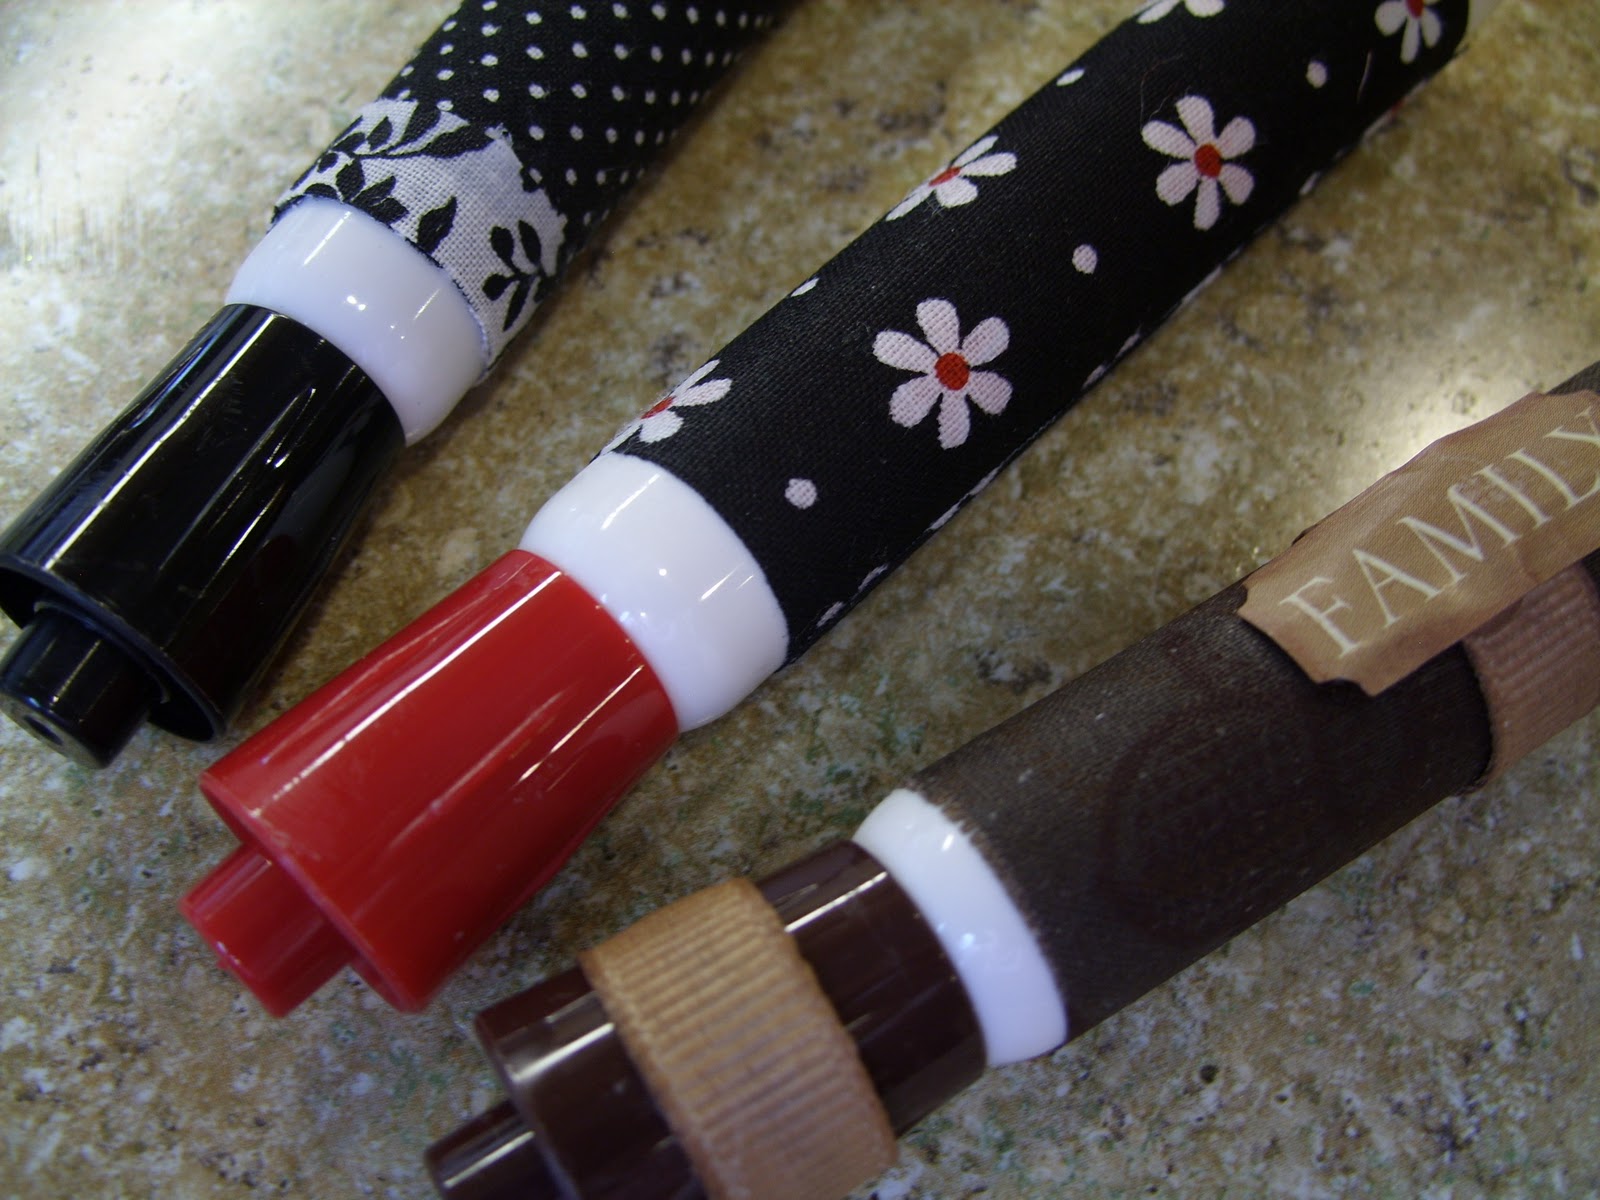
Add a little bit of ribbon...

A glue gun works well for attaching any embellishments.

Go crazy and dress-up all the dry erase markers in your house!


I love the way these turned out, and it's a quick 5-minute project. I'm planning to also do some of these with my kids as teacher gifts this year--wouldn't that be cute??